If you would like to comment on this submission, you may do so by posting a reply in this thread. Thanks! Kaitlin
The Music: Neko Case
The Drink: Hot milk with honey. Comforting
The Weather: It was sunny today. This cheered me up
The Mood: Uncertain that I will get everything I need to do done this week including this tutorial!
I'm doing block first.
Tools: I got a flat scorper. I have about 5 of varying widths. I've numbered them on the handle so I can find the one I need easily.

Its just a 2.5mm lozenge tool. I'm using number 2 for this one. Its not a 'real' measurement (like inches or mm), I've just numbered them in relation to each other.

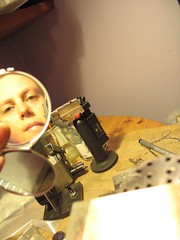
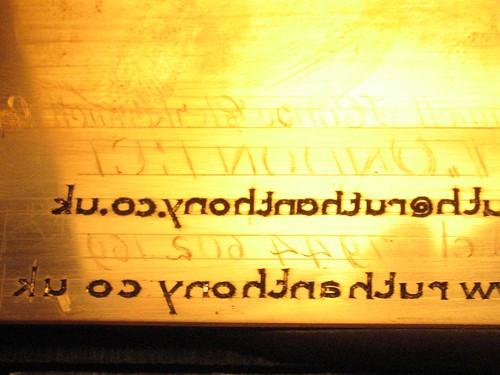
So Ive got my copper plate stuck to a bit of wood with some setters cement (shellac mix) and put it in my vice.
I've also got a mirror so I can check what the thing will look like in 'real life'
First I cut all the horizontal lines like the legs for the E,P,F, etc. Usually doing upper case there are lots of these, but with this it is all lower case and there aren't any in the lower case except e and I havent got an e.
So then I make a little nick at the top and bottom of all the rounds. Its more as a guide than anything. I hope you can see it from the photo.
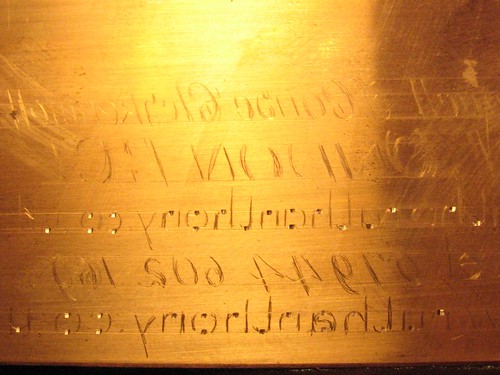
Then I cut all the verticals, or stems. when I am doing this I also make a nick on the round letters like o so it looks like this. This way when I'm doing the cuts around I have a guide at quarter way to keep me on track.
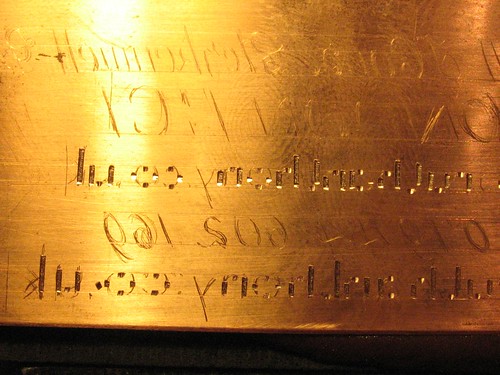
Then I cut all the diagonal stems like k,w, y etc.

Then start clipping out the rounds doing a quarter at a time going all the way round
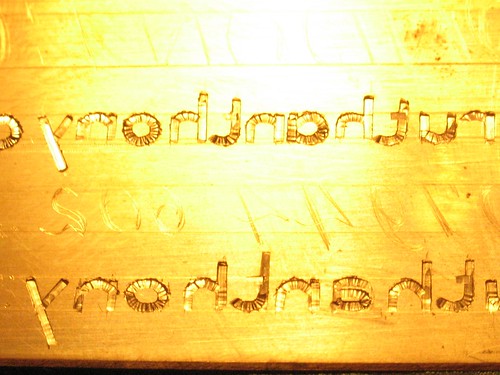
the last step is to cut the squaring off. I use a flat scorper, but others use a normal 'v cut' graver and turn it as they cut. I just find a flat scorper easier.
I go along the top line, then the bottom and then cut all the odd ones like on c, e, s etc. So sorry, but I deleted the photo I took of this step - will try and fix that but for now no pic.
I put some ink in it so the engraving shows up.
I have to admit this is not the best engraving job I've ever done. Well that's what you get for rushing! Still, I'll just pretend we're going for the 'rustic' look. Shame on me. The worst excuse ever used by a craftsperson!